


Maple Bacon Stuffed Chicken
This Maple Bacon Stuffed Chicken recipe is a perfect combination of sweet and savory flavors that are sure to impress. Juicy chicken thighs are stuffed with cubed Gouda Cheese and wrapped in Capital Thick-Cut Bacon, then brushed with a delicious maple syrup glaze for a mouthwatering taste.
Course: MainCuisine: WesternDifficulty: Easy
Servings
4
servingsPrep time
10
minutesCooking time
50
minutesTotal time
1
hour
Cook Mode
Keep the screen of your device on
Ingredients
7 slices Thick cut bacon
4 Boneless, skinless chicken thighs
1 cup Cubed Gouda cheese
1/4 cup Maple syrup
2 tbsp Dijon mustard
1 tbsp Soy sauce
1 tbsp White wine vinegar
2 cups Broccoli florets
1 pound Baby potatoes, quartered
2 tbsp Olive oil
1 tbsp Montreal steak seasoning
Directions
- Preheat oven to 375°F.
- Toss the broccoli and potatoes with olive oil and Montreal steak seasoning. Spread on a baking sheet and roast in the oven for 20-25 minutes while you prep the chicken.
- Lay the chicken thighs flat on a cutting board. Place the Gouda cheese cubes in the center of each chicken thigh.
- Roll the chicken thighs over the cheese and secure them with toothpicks or skewers.
- Wrap each chicken thigh with 2-3 slices of Capital Thick Cut Bacon. Secure with toothpicks or skewers.
- Heat a large skillet over medium heat. Add the bacon-wrapped chicken thighs and cook until browned on all sides, about 5-7 minutes.
- In a small bowl, whisk together Maple syrup, Dijon mustard, soy sauce, and white wine vinegar.
- Brush the sauce over the bacon-wrapped chicken thighs while still on the hot pan to caramelize the glaze.
- Transfer the chicken thighs to the baking dish with the vegetables and bake for another 20-25 minutes or until the internal temperature of the chicken reaches 165°F.
- Remove from the oven and let the chicken thighs rest for a few minutes before serving.
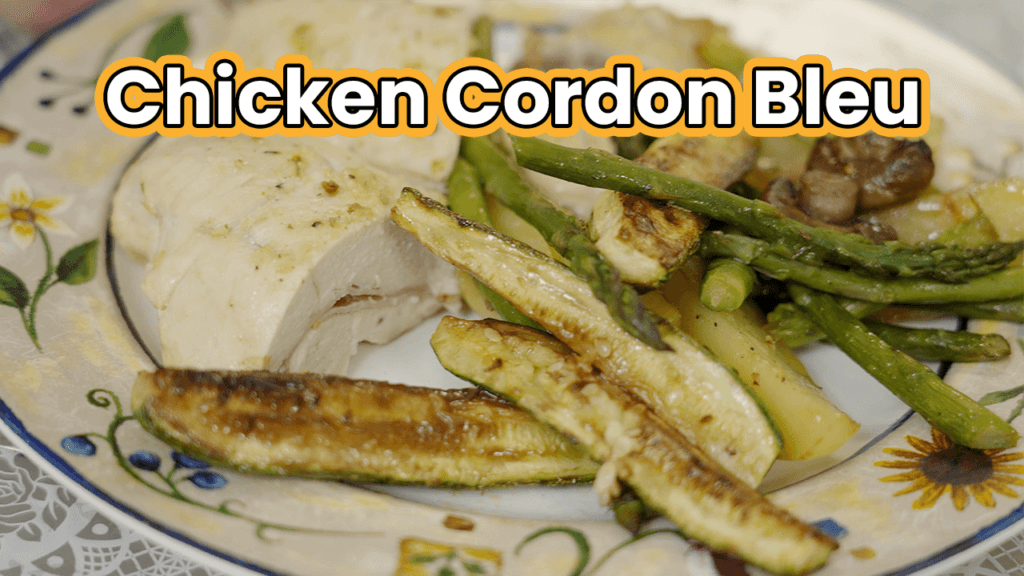
- Serve the chicken thighs with the roasted vegetables on the side. Enjoy!
Recipe Video
Notes
- Note: Be sure to remove the toothpicks or skewers before serving.
